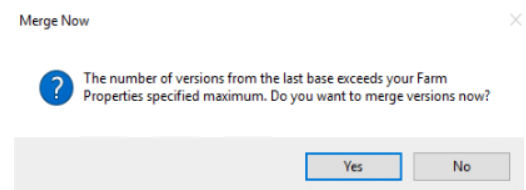
Merging the vDisks versions is necessary to maintain the system. While there isn’t an enforced number of vDisk versions, you can set a maximum of vDisk versions depending on the frequency of changes you perform and the size of the storage capacity of the vDisk Store.
Default recommendations from Citrix is set to 5 versions.
Merge the vDisk
- Logon the first Provisioning Server in the farm and open the Provisioning Server Console
- Right-click on the appropriate vDisk and choose Versions
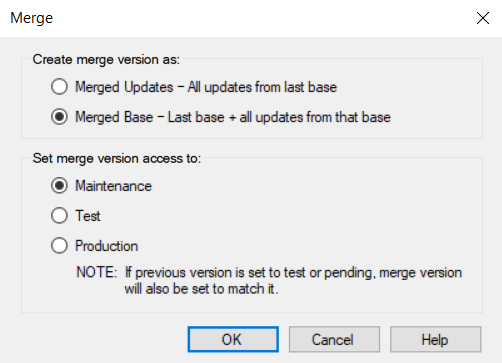
- Click on Merge
- Choose Merged Base – Last base + all updates from that base
- Set merge version access to Maintenance
- Click OK
Create new vDisk
When the merging of the new Base disk is finished we will deploy it as a new vDisk. This resets the vDisk counter to 0.
- Navigate to too the vDisk Store on your Provisioning Server
- Select the merged vDisk (you can see the number of the version in the vDisk properties)
- Rename these files *.##.pvp and *.##.vhd to a new name for the new vDisk. Keep a logical and clear naming convention for the vDisks.
- Open the Provisioning Server Console and navigate to Site -> vDisk Pool or Store (depending if you use a specific Store for the vDisk)
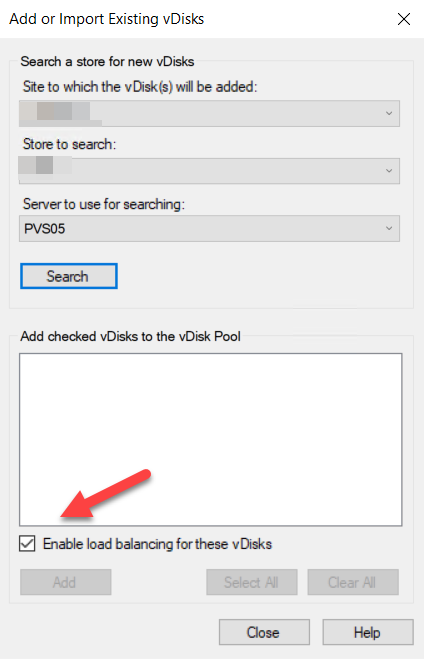
- Right-click the vDisk Pool or Store and click on “Add or Import Existing vDisk…”
- Leave the first two options default (in most cases)
- Select the Provisioning Server on which you merged the vDisk versions
- Uncheck load balancing
- Click on search
- Select the vDisk you found
- Click Add and Close
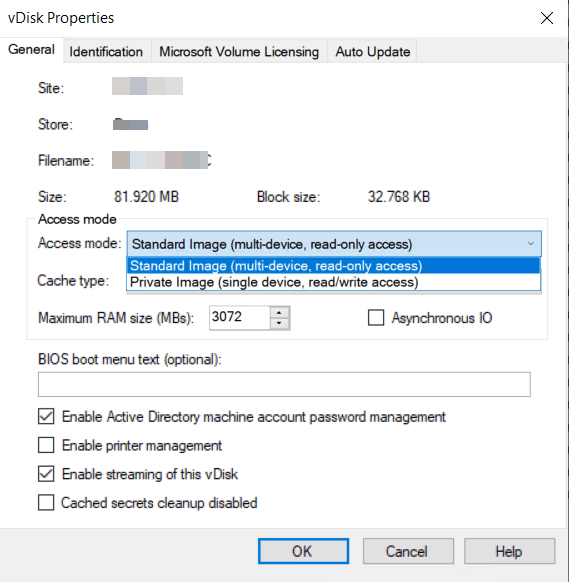
- Right click the vDisk and open the properties
- Set Access Mode to Standard Image
- Set Cache Type to “Cache in device ram with overflow to disk”
- Set Maximum RAM size (MBs): 3072 (for server OS)
- Click on Ok
Warning! do not delete the old vDisk for a couple of days, so you can roll back easily if necessary.
Add vDisk to Device Collection
There are two ways to attach a vDisk to the VMs in the Device Collection.
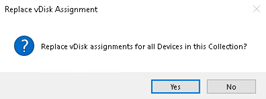
- Option 1. Drag and drop the new vDisk into the Device Collection and click “Yes” if you want to associate the new vDisk with all VMs in the Device Collection
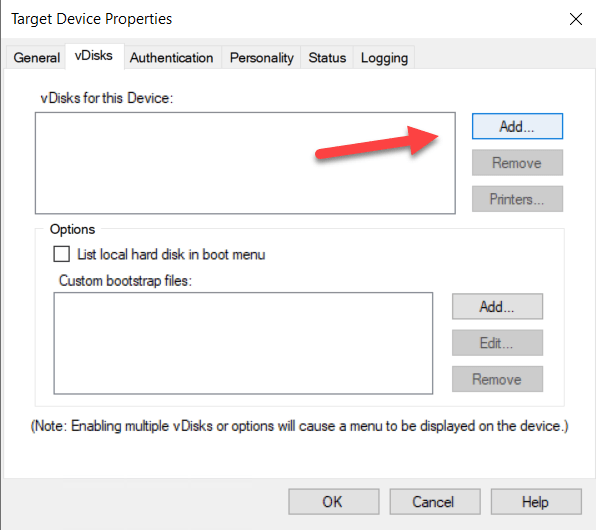
- Option 2. Open the Device Collection and select a Target Device to add the vDisk. Right-click the Target Device and go to properties. Select the Vdisk tab and add the desired new vDisk.
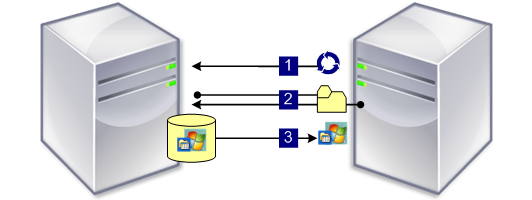
Vdisk Replication
In most environments, the vDisk Store is set up redundant. So now we need to replicate the newly created vDisk. Copy the vDisk to the second vDisk Store. Once the vDisk is copied, we need to take some final steps.
- Right-click on the new vDisk within the PVS console on the Provisioning Server
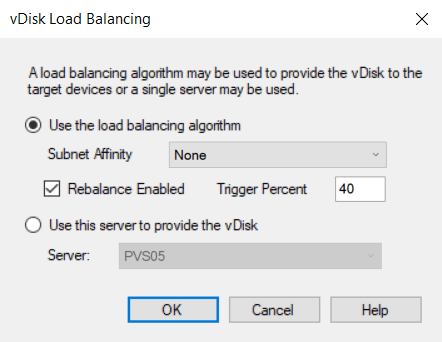
- Select: “Load Balancing”
- Select “Use the load balancing algorithm” and check the box “Rebalance Enabled” leave Trigger percent to default or change to any value suited for you environment
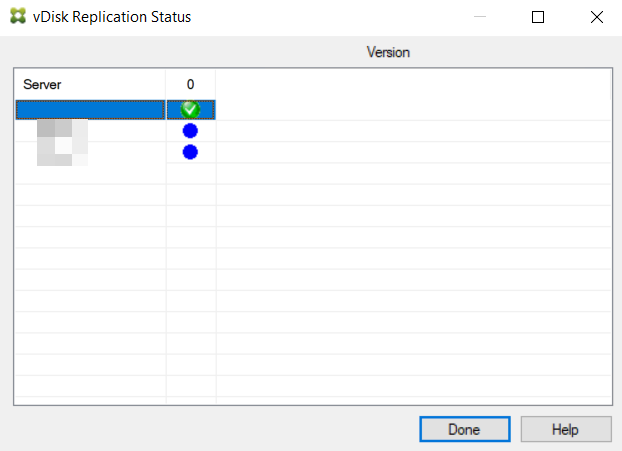
- Verify that the vDisk is replicated
- Right-click on the new vDisk within the PVS console on the Provisioning Server
- Select: “Replication Status..”
Rollback Scenario
If we merged like Citrix intended that we merge a vDisk, there could be a scenario that a merged version gets corrupt during the merge. If you did not test and promote the vDisk to production, you can face some challenges the next morning.
If you did not make an export of the vDisk (manifest file), you are not able to roll back to the previous version. The only way now is to restore the vDisks from a backup (e.g. veeam). Keep in mind that the Citrix environment is down until the restore of the backup is finished.
Now, if you follow the steps provided, you can easily roll back if you need to.
- Shutdown the Target Devices connected to the new vDisk
- Remove the vDisk
- Delete the Maintenance version you created earlier to create the new vDisk
- Add the old vDisk back to the Device Collection or Target Device, where the newly created vDisk is attached.
- Boot the Target Devices
Summary
I hope I was able to provide a more secure way, to merge your vDisk and save you from a lot of trouble.
Credits @ VDNieuwenhof.eu