Regularly we need to update/upgrade NetScalers during projects or maintenance. I have seen this go wrong many times using the GUI, so the default I use to update a NetScaler is via the CLI. Just follow a couple of simple steps to accomplish this to make things easier for you.
Step 1. Download WINSCP or any other tool
Step 2. Download Putty
Now login to My Citrix to download the version you would like to use for the update. Keep in mind that if you update to version 13.1, you will need to change Classic Policies Based Features and Functionalities.
- Create an backup of the NetScaler before you begin
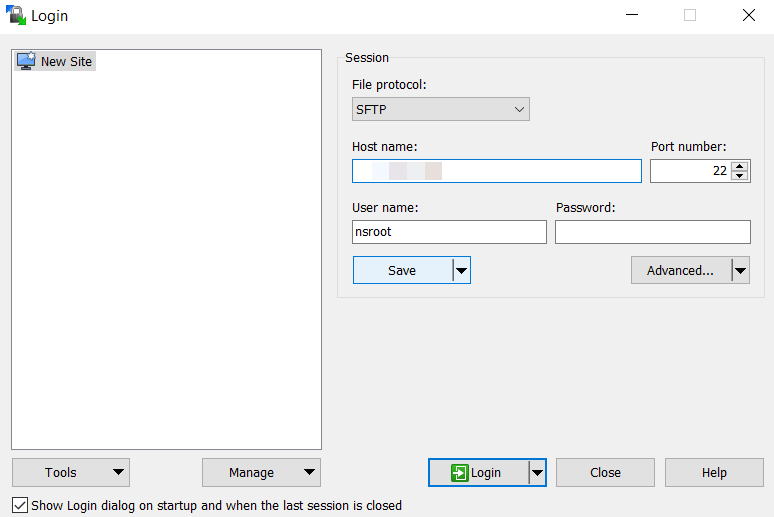
- Open WINSCP
- Setup a new site to log into the NetScaler with file protocol SFTP and port number 22 (if you cannot connect, check the firewall settings)
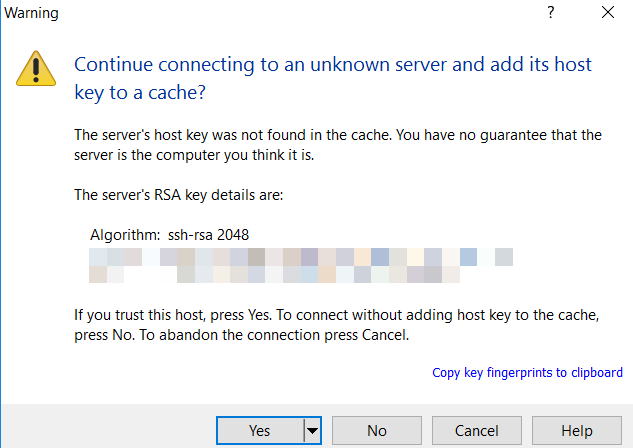
- Click Yes to accept the warning
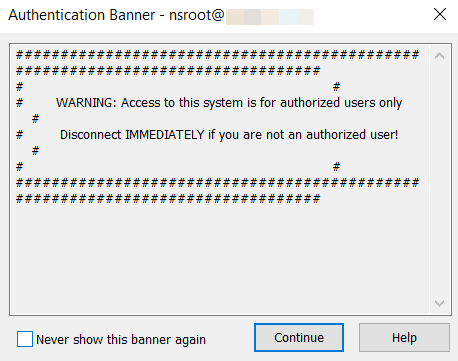
- Click on Continue
- In the commander, navigate on the left side to the Download folder and on the right side navigate to /var/nsinstall and create a folder where you can upload the firmware. Example: /var/nsinstall/build-13.0-87.9_nc_64 (you can use any name you like)

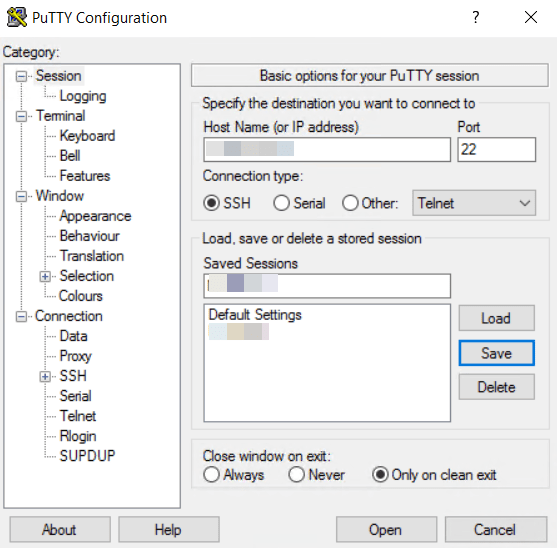
- Open Putty and create a login for the NetScaler with Connection Type SSH and Port 22
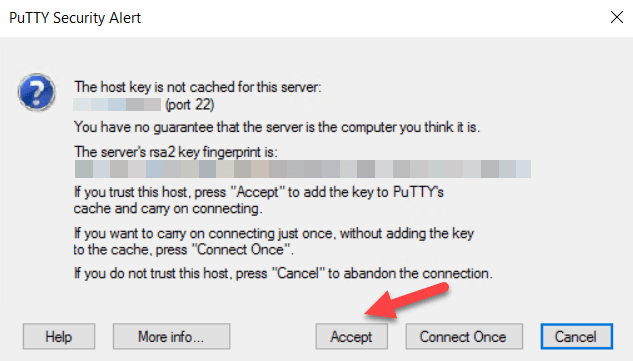
- Accept the Putty Security Alert
- Login Putty with the same credentials as WINSCP to connect to your appliance
- Type Shell
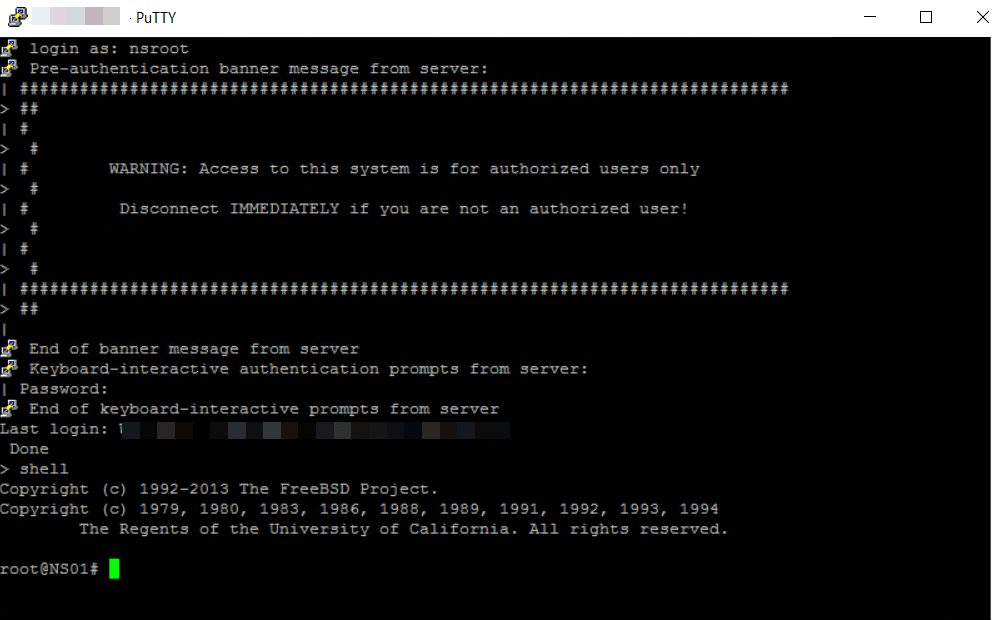
- Type cd /var/nsinstall/build-13.0-87.9_nc_64
- Now type tar -zxvf build-13.0-87.9_nc_64.tgz to unzip the package

- Then type installns to begin the install (should take about 30 seconds to copy flash and install)
- Do you wish to delete old signature files and kernel images? [Y/N] Y
- Reboot NOW? [Y/N] Y
- Login via the web GUI and verify the firmware version is correct and everything is up and running
Summary
That’s All! This was a short post, but I hope a very helpful post. If you have any questions. please let me know.