
When installing updates on XenServer hosts, it can be a time-consuming thing if you do not use shared storage. To makes things easier, you can pre-update all hosts with the updates needed. The only left to do then is to reboot the host one single time and you’re done. Installing updates via CLI will eliminate the fact, that the server needs to reboot after specific updates. If you plan the reboot in a maintenance window, it will even prevent the fact you need to move all VMs from one to the other host. Downtime is set to a minimal this way.
Update process using shared or local Storage
If it is necessary to move VMs during an update/upgrade, you need to take notice if this is possible. For instance, if you are using VMs provisioned with MCS (local storage), it is not possible to move the VMs to another host. You need to shut these machines down.
- PVS with Write Cache on Shared storage
- When sufficient memory is available, the hosts can be upgraded without any problems. This is a Rolling Pool upgrade using the GUI
- PVS with Write Cache on Local storage
- Shut down as many machines as possible if you can, this saves the number of VM movements between the hosts. Move the active VMs to another host. After which you can start installing the update/upgrade (use CLI if you want to update per host)
- MCS with Local Storage
- With MCS it is unfortunately not possible to move the VMs to another host, so the VMs will have to be turned off per host. After which you can start installing the update/upgrade (use CLI if you want to update per host)
For more information Storage | Hypervisor 8.2
Update XenServer Using CLI
To perform an update/upgrade using CLI, you need to take a couple of steps.
- Open the XenCenter Console (to upgrade CU.x updates, sometimes you need to update the Console first)
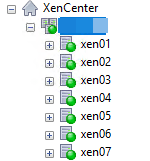
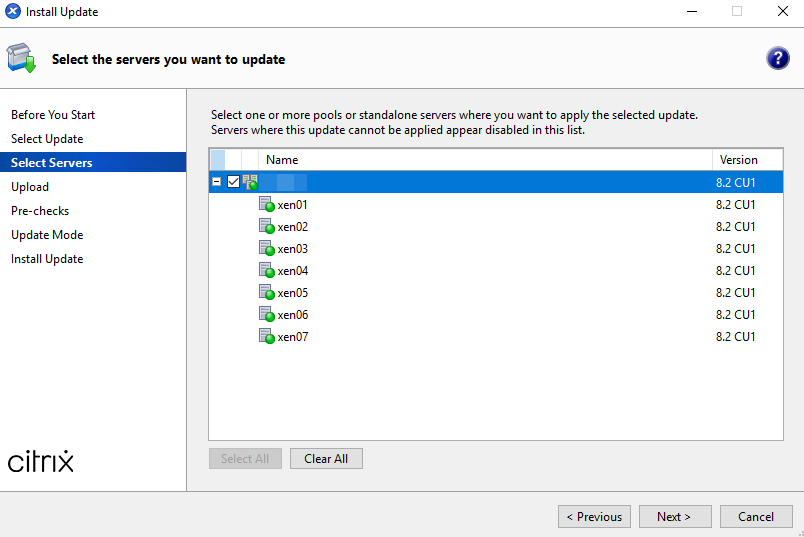
- Select the Pool
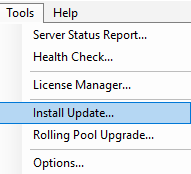
- Via Tools -> Install Update
- Click Next
- Choose the option Download update or new version from Ctrix
- Click on Refresh List
- Select the hotfix you want to install and click Next

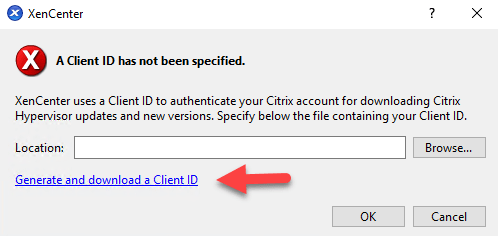
- If you receive a message you need to generate and download a client_id.json, download this (you need a Citrix account). Once downloaded, click browse and upload the client ID.
- Select the Pool and click Next and upload the selected files to your servers
- Click on previous and repeat all the steps for all the hotfixes you need to install (do not proceed, as this will initialise the update of the Pool)
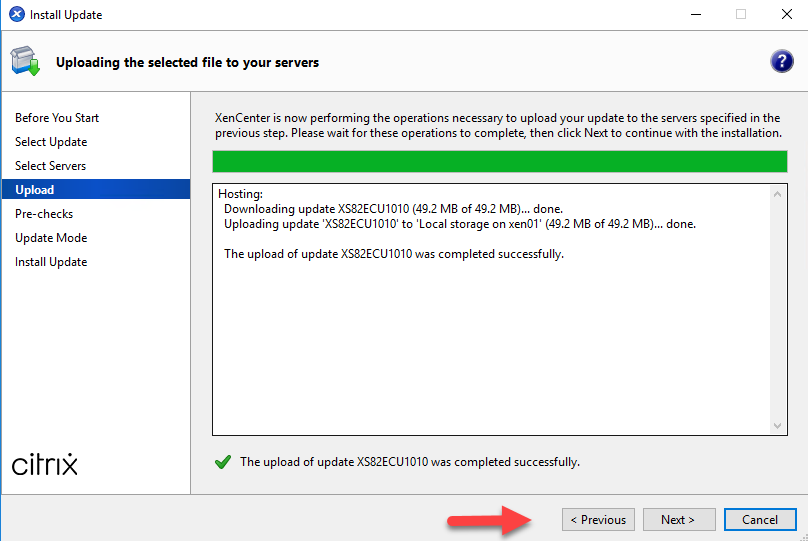
- Minimize the update screen (do not close it, as all the updates are now uploaded to the Xen-hosts)
- Login the console on the host you want to update first (root account)

- Execute the following command xe update-list name-label=<hotfixname> (you can check the name of the hotfix in de update screen)
Example: xe update-list name-label=XS82ECU1009 - Copy the uuid
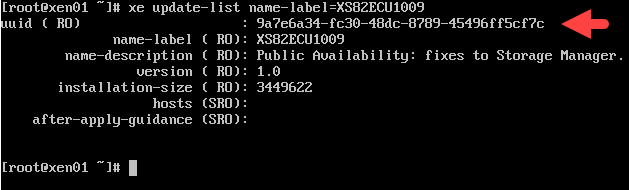
- Execute xe update-apply host=(hostname) uuid=<UUID>
Example: xe update-apply host=xen01 uuid=9a7e6a34-fc30-48dc-8789-45496ff5cf7c - Repeat these steps for all the hotfixes or versions you need to install on the host
Note: Write down the commands in a notepad, so you can use this to update the other Xen-hosts. The only thing you need to change is the hostname (select the lines you need to change and press CTRL + H). Past all the commands in the CLI, and the updates will be installed.
Example:
xe update-list name-label=XS82ECU1009
xe update-apply host=xen01 uuid=9a7e6a34-fc30-48dc-8789-45496ff5cf7c
xe update-list name-label=XS82ECU1010
xe update-apply host=xen01 uuid=7f65f59e-6073-474d-9439-65e22c9c498e
xe update-list name-label=XS82ECU1012
xe update-apply host=xen01 uuid=0b7a8580-0454-4e51-a866-39225618668d
Once all the Xen-hosts are updated/upgraded, the only thing left to do is reboot the Xen-hosts in the Pool one by one. Start with the Pool Master (keep in mind if you reboot the Pool Master, XenCenter is not available). You can close the update screen now if you like.
Summary
As you can see there are different ways to update or upgrade XenServer. The way you choose to depends on the customer environment. I hope I was able to provide a way, to make it easier. If you have any questions, please let me know