This article will provide simple steps to create or import a custom machine SSL certificate into the vCenter server. Recently I needed to do this for one of our customers and it took me quite some time to get the right steps in order. So, I thought this would be a nice article to post and save some struggles for someone else.
There are several options to create or import custom certificates into the vCenter Server. You can do this using the vCenter Server GUI or CLI. You can also use a tool like e.g. Digicert.
Prerequisites:
- Certificate Authority (CA): You need access to your organization’s CA.
- vCenter Server: Ensure you have SSO access to the vCenter (administrator@vsphere.local).
- vCenter Appliance: Ensure access for SSH is enabled (CLI).
- Putty: You need putty to access the vCenter using SSH (CLI).
- WINSCP: You need WINSCP to upload and import the certificates (CLI).
Note: when we created the CSR on the vCenter Server using the GUI, the Subject Alternative Name(s) were not present in the certificate we created, not sure if this is a bug, so be aware!
Create a CSR from the vCenter Server (GUI)
You can create the CSR in different ways. If you choose to do this from the vCenter Server it will make it a bit easier because the private key is already on the appliance, so there is no need to import the private key. If you create the CSR outside the vCenter Server, you must choose a different option and import the private key.
- Before you begin make a cold snapshot of the vCenter Server
- Log into the vCenter Server
- Click on the
 and select Administration
 - Click on Certificate Management
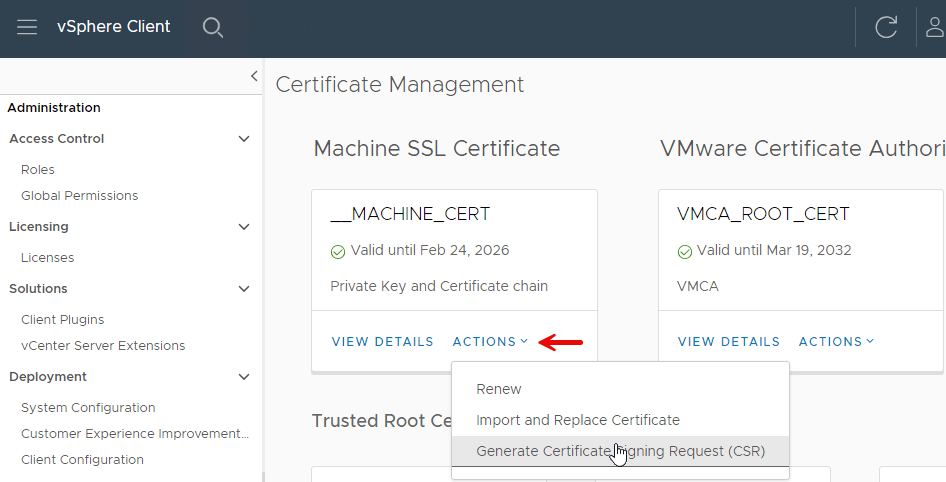
- Under Machine SSL Certificate click on the Actions dropdown menu and select Generate Certificate Signing Request (CSR)
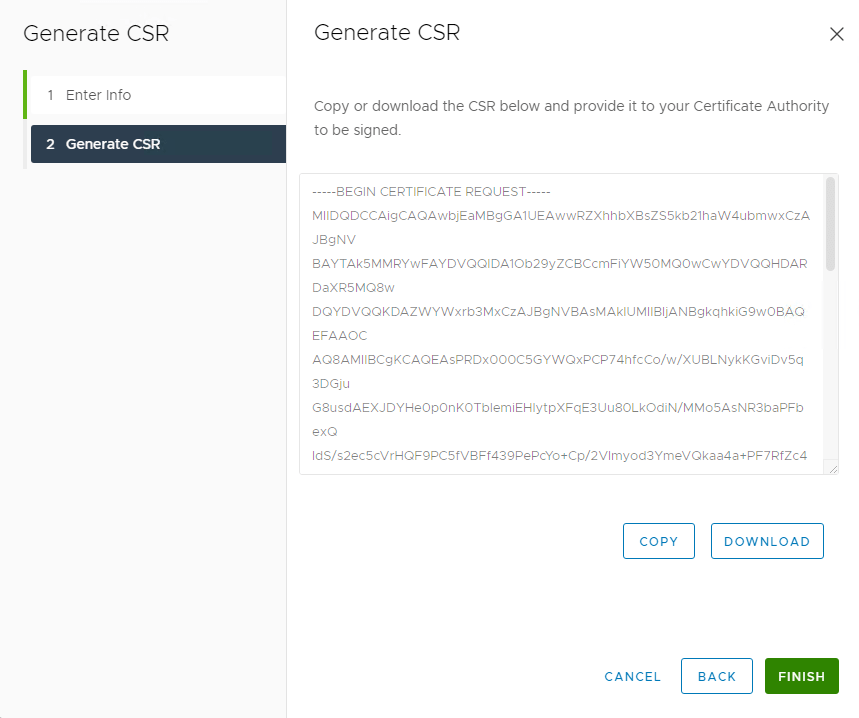
- Now create a CSR
- Once the CSR is finished you can Copy the CSR in a text file or Download the file
The next step is to create the certificate from the CSR you just created.
Certificate Authority
In this article, we assume there is a Certificate Authority (CA) in place. We also assume there are templates in place. Templates are used in public key infrastructure (PKI) systems to define the properties and policies for issuing digital certificates. These templates help standardize the process of certificate issuance, ensuring consistency and adherence to organizational or security requirements.
Run the command: Open PowerShell as an administrator (since certreq typically requires administrative privileges) and execute the command.
Construct the certreq command with appropriate parameters. Here’s an example:
certreq -submit -attrib "CertificateTemplate:WebServer" "C:\path\to\your\<valkos>.csr" "C:\path\to\save\your\<valkos>.cer"
This command tells certreq to submit the CSR to the CA and request a certificate based on the “WebServer” template.
So now that we have the certificate in place, the next step is to create the root and signing certificate.
Create Root CA and Signing Certificate
We still need to perform some steps to make the chain of the certificates complete. We will now create the root and signing certificates.
Create the root.cer (Root CA) certificate:
- Right-click on the certificate that was created by the CSR and click Open
- Select the tab Certification Path and select the Root CA in the certificate tree
- Click on View Certificate
- Select the tab Details and click on Copy to File
- Click on Next
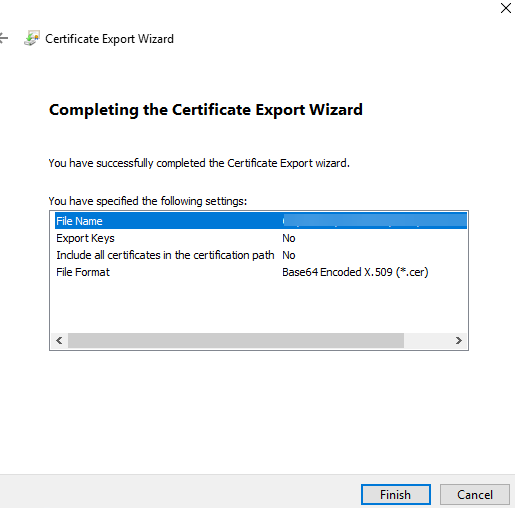
- Select the format Base-64 encoded X.509 (.cer)
- Browse to the location of the certificates and save the file as Root.cer
- Click Finish
Create the CACert.crt (Signing CA) certificate:
- Right-click on the certificate that was created by the CSR and click Open
- Select the tab Certification Path and select the Issuing CA in the certificate tree
- Click on View Certificate
- Select the tab Details and click on Copy to File
- Click on Next
- Select the format Base-64 encoded X.509 (.cer)
- Browse to the location of the certificates and save the file as CACert.crt
- Click Finish
When all previous steps are finished, we have the following chain of certificates:
- <valkos>.cer
- <valkos>.key (if you did not create the CSR on the vCenter Server)
- root.cer (Root CA)
- CACert.crt (Issuing CA)
Still with me? Let’s proceed.
Import and Replace Custom Certificates
Now that we have all the certificates in place, we are ready to import the certificates (chain) into vCenter Server.
- Log into the vCenter Server
- Click on the and select Administration
- Click on Certificate Management
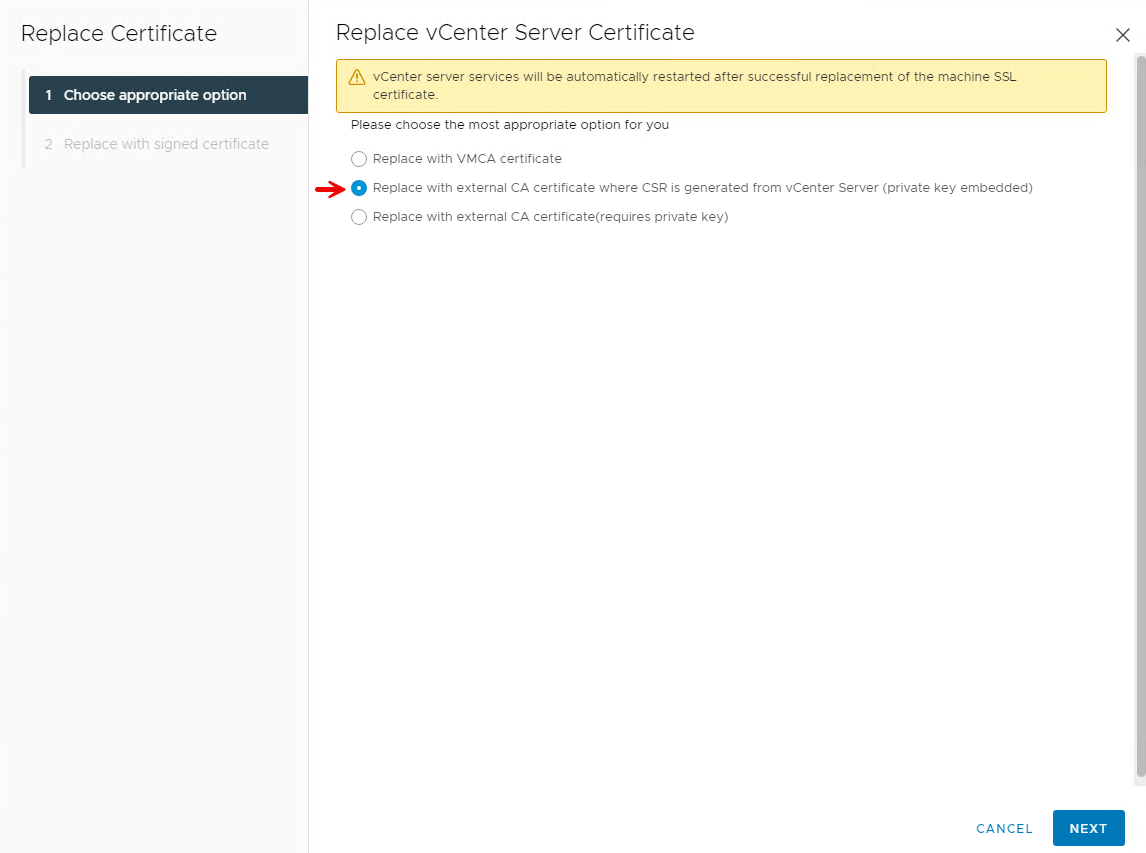
- Under Machine SSL Certificate click on the Actions dropdown menu and select Import and Replace Certificate
- Select Replace with external CA certificate where CSR is generated from vCenter Server (private key embedded)
- Choose Replace with external CA certificate (requires private key) if you did not create the CSR on the vCenter Server
- Click Next
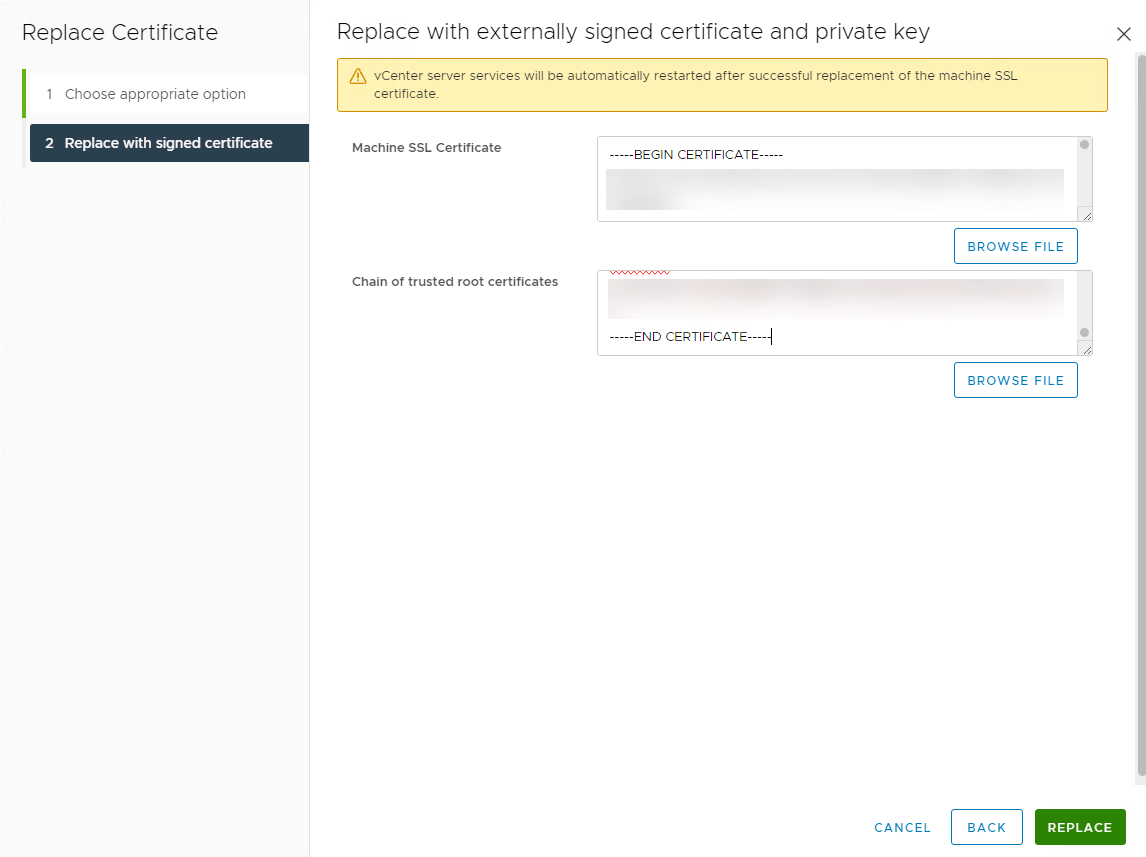
- Click on Browse File for the Machine SSL Certificate, and import <valkos>.cer
- For the Chain of trusted root certificates section, we need to do some extra steps (Do not use Browse Files)
- In the background open the location where all certificates are stored
- Right-click the root.cer (Root CA) and open with notepad(plusplus)
- Copy the text of the certificate and past it in the section of the Chain of trusted root certificates
- Press one time Enter on your keyboard
- Do the same for the CACert.crt (Signing CA) and past it directly below the —END CERTIFICATE—- part from the previous step
- Click on Replace
The Certificate is now replaced! You will lose connection to the vCenter, as the vCenter Server will reboot.
NOTE: If you created the CSR outside the vCenter Server select Replace with external CA certificate (requires private key), and import the private key <valkos>.key. The rest of the steps stay the same.
Create a CSR from the vCenter Server (CLI)
Creating a Certificate Signing Request (CSR) from the vCenter Server Command-Line Interface (CLI) involves several steps. Here’s a general outline of how you can generate a CSR.
NOTE: Do not forget to create a backup of the VCSA. You can accomplish this by taking a cold (shutdown the appliance) snapshot of the VCSA.
Log on with WINSCP:
- Log on to the vCenter Server (Follow these steps if you encounter the error message “Receive to large SFTP package”)
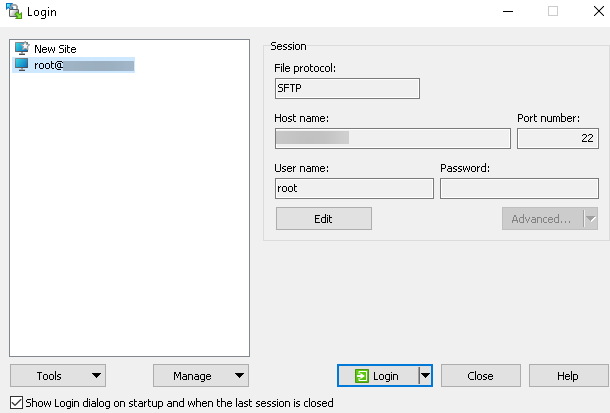
- Create a folder in the temp directory to write the generated CSR and private key to
/tmp/cert/
Log on with Putty:
- Open a terminal session to the VCSA
- Type shell to enter the command shell
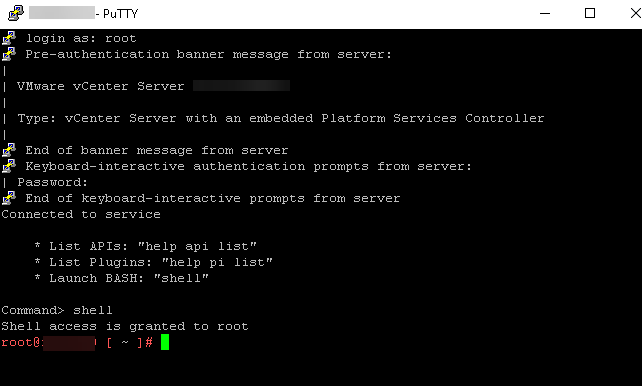
- Open the Certificate Manager command-line utility
/usr/lib/vmware-vmca/bin/certificate-manager
- Choose option 1. Replace Machine SSL certificate with Custom Certificate
- Enter username (SSO) and password
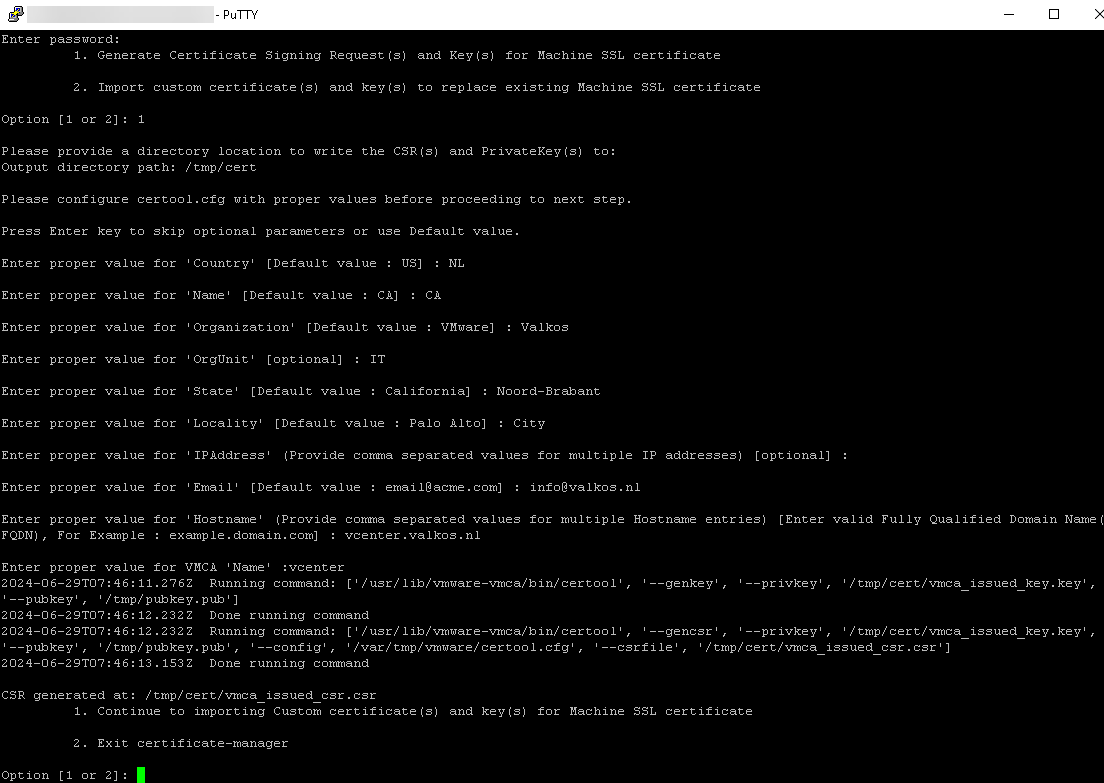
- Choose option 1. Generate Certificate Signing Request(s) and Key(s) for Machine SSL certificate
- Provide the directory created earlier
/tmp/cert/
- Example CSR
Download the CSR to your local machine and follow to steps from the previous chapter Certificate Authority and Create Root CA and Signing Certificate. You can leave the private key (vmca_issued_key.key), because we need that when we import the certificates.
When all previous steps are finished, we have the following chain of certificates:
- <valkos>.cer
- vmca_issued_key.key
- root.cer (Root CA)
- CACert.crt (Issuing CA)
Using the CLI we have to do one step differently than the GUI. The custom “<valkos>.cer” should be a full chain for certificate+inter(s)+root.
- Create a new text file and make sure to input the full chain. Save the file as <root64>.cer
Example Broadcom knowledge base:
-----BEGIN CERTIFICATE-----
MIIFxTCCBK2gAwIBAgIKYaLJSgAAAAAAITANBgkqhkiG9w0BAQUFADBGMRMwEQYK
CZImiZPyLGQBGRYDbmV0MRYwFAYKCZImiZPyLGQBGRYGbW5uZXh0MRcwFQYDVQQD
Ew5tbm5leHQtQUQtMS1DQTAeFw0xMzAyMDExNjAxMDNaFw0xNTAyMDExNjExMDNa <---Certificate (<valkos>.cer)
SMhYhbv3wr7XraAnsIaBYCeg+J7fKTFgjA8bTwC+dVTaOSXQuhnZfrOVxlfJ/Ydm
NS7WBBBFd9V4FPyRDPER/QMVl+xyoaMGw0QKnslmq/JvID4FPd0/QD62RAsTntXI
ATa+CS6MjloKFgRaGnKAAFPsrEeGjb2JgMOpIfbdx4KT3WkspsK3KPwFPoYza4ih
4eT2HwhcUs4wo7X/XQd+CZjttoLsSyCk5tCmOGU6xLaE1s08R6sz9mM=
-----END CERTIFICATE-----
-----BEGIN CERTIFICATE-----
MIIDZzCCAk+gAwIBAgIQNO7aLfykR4pE94tcRe0vyDANBgkqhkiG9w0BAQUFADBG
K73RIKZaDkBOuUlRSIfgfovUFJrdwGtMWo3m4dpN7csQAjK/uixfJDVRG0nXk9pq
GXaS5/YCv5B4q4T+j5pa2f+a61ygjN1YQRoZf2CHLe7Zq89Xv90nhPM4foWdNNkr <---Intermediate (CACert.csr)
/Esf1E6fnrItsXpIchQOmvQViis12YyUvwko2aidjVm9sML0ANiLJZSoQ9Zs/WGC
TLqwbQm6tNyFB8c=
-----END CERTIFICATE-----
-----BEGIN CERTIFICATE-----
MIIDZzCCAk+gAwIBAgIQNO7aLfykR4pE94tcRe0vyDANBgkqhkiG9w0BAQUFADBG
K73RIKZaDkBOuUlRSIfgfovUFJrdwGtMWo3m4dpN7csQAjK/uixfJDVRG0nXk9pq
GXaS5/YCv5B4q4T+j5pa2f+a61ygjN1YQRoZf2CHLe7Zq89Xv90nhPM4foWdNNkr <---Root (root.cer)
/Esf1E6fnrItsXpIchQOmvQViis12YyUvwko2aidjVm9sML0ANiLJZSoQ9Zs/WGC
TLqwbQm6tNyFB8c=
-----END CERTIFICATE-----
Upload the following certificates with WINSCP to the cert directory we created earlier:
- <valkos>.cer
- <root64>.cer
- vmca_issued_key.key (already uploaded)
Import and Replace Custom Certificates
Now that we have all the certificates in place, we are ready to import and replace the machine SSL certificates.
Have your Putty session open still, choose Option 1. Continue to importing Custom certificate(s) and key(s) for Machine SSL certificate and proceed. Otherwise, repeat these steps.
- Provide a valid custom certificate for Machine SSL
/tmp/cert/<valkos>.cer
- Provide a valid custom key for Machine SSL
/tmp/cert/vmca_issued_key.key
- Provide the signing certificate of the Machine SSL
/tmp/cert/<Root64>.cer
- You are going to replace Machine SSL cert using custom cert
- Continue operation: Option[Y/N]? : Y
The Certificate is now replaced! You will lose connection to Putty, as the vCenter Server will reboot.
Summary
That’s all folks!
Please get in touch or leave a comment, if you have any questions or want more information on this or other topics. For this topic thanks to my colleague Ivica Brnic, as he’s our Linux goeroe and provided some assistance!