In this case, we need to migrate a customer from XenServer to VMware. This customer is hosted in a private hosting environment, where customers are divided into two different hypervisors. Some customers are working on VMware and others are working on XenServer. The main reason that a customer is on XenServer, is the fact of NVIDIA GPU. If the customer is licensed with a CVAD Enterprise subscription, NVIDIA GPU is free to use. If you want to use NVIDIA GPU on VMware, you will need an Enterprise Plus License. Those licenses are not cheap!
Because this customer doesn’t need NVIDIA GPU anymore, we want to migrate this customer back to VMware. Let’s proceed with the steps to accomplish this request.
Merge base
To merge the vDisk please follow the steps provided in this post I created some time ago “Merging Citrix vDisk more securely“.
Reversed Image
After the newly created vDisk is imported, we can assign the vDisk to the maintenance machine. Before we can boot the maintenance server, we need to take a couple of steps.
- Make sure the vDisk is in Private Mode..
- Attach an extra HDD to the maintenance server (usually the same size as C:\ drive)
- Login the maintenance server and navigate to Disk Management
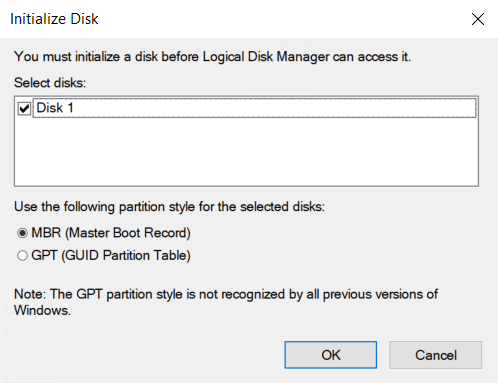
- Leave it default and click OK
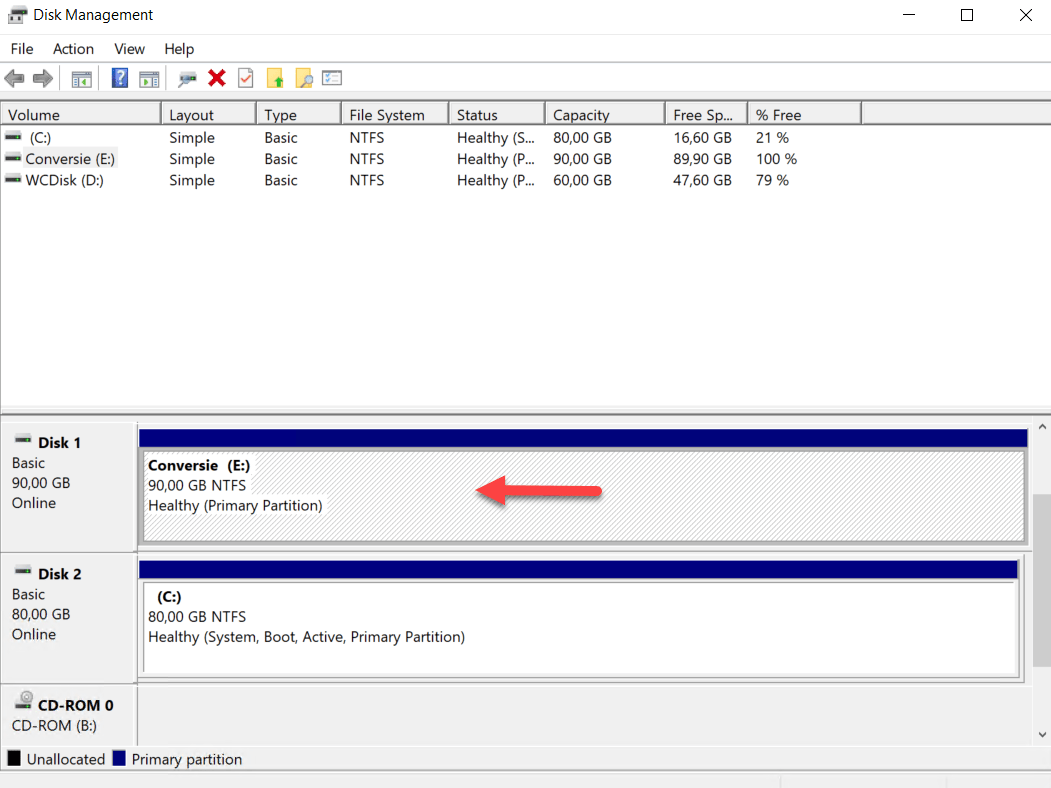
- Create a new Volume (you can name it everything you like)
- Right-click the partition, select Mark this partition as Active
- Check if the Volume Shadow Copy service is running. if this service is not started, start the service and set the Startup Type to Automatic

- Now navigate to %PROGRAMFILES%\Citrix\Provisioning services\P2PVS.exe to start the P2PVS Converter
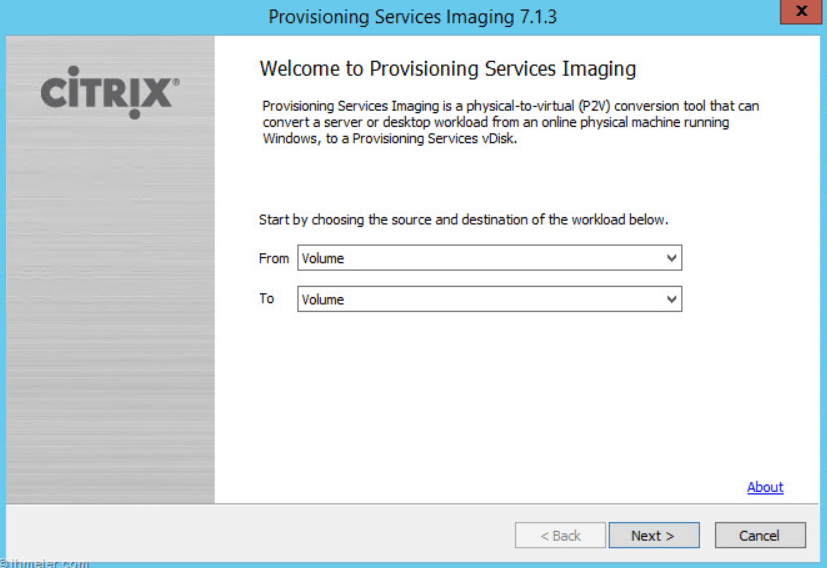
- Select Volume to Volume and click Next
- Select the source and destination, as C:\boot is the source and E:\Conversion is the destination
- Start the conversion
- After the conversion is done, we need to change the Boot From option on the Target Device

- Detach the cache disk of the maintenance machine by selecting the cache disk and clicking on Detach (this way you can easily attach the disk again, in case you still need the server)

Now we can reboot the maintenance machine, so it will boot to the converted HDD
Remove all XenTools, drivers and registry keys
The final process is to remove all Xen tools. There are a couple of locations where you need to remove tools, drivers, and reg keys.
- Before you begin removing, create a snapshot of the VM
- In the Run command box type msconfig, to disable all non-Microsoft and Citrix Xen processes
- Reboot the VM
- Uninstall XenTools, guest agent, drivers, and all individual drivers MSI through Add/Remove programs. (guest agent first, then PV tools, then each driver MSI in any order)
- Navigate to C:\WIndows\System32 then search for xen*.sys and remove all drivers
- Open Device Manager and select Show Hidden Devices and remove the Network Drivers and System Devices for Xen

- Open the Run command box and type regedit
- Remove all registry keys with the name Xen in the following locations
- Computer\HKEY_LOCAL_MACHINE\SYSTEM\ControlSet001\Services\XEN
- Computer\HKEY_LOCAL_MACHINE\SYSTEM\ControlSet002\Services\XEN
- Computer\HKEY_LOCAL_MACHINE\SYSTEM\CurrentControlSet\Services\XEN
- Remove Xenfilt from the Upperfilters registry entries
- Computer\HKEY_LOCAL_MACHINE\SYSTEM\CurrentControlSet\Control\Class\{4d36e96a-e325-11ce-bfc1-08002be10318}
- Computer\HKEY_LOCAL_MACHINE\SYSTEM\CurrentControlSet\Control\Class\{4d36e97d-e325-11ce-bfc1-08002be10318}
Once finished we need to reboot the server. If there are no issues, you can remove the snapshot created earlier. The only thing left is to migrate the VM to VMware. You can use a freeware tool like Starwind V2V Converter for this. You can download the Converter tool here.
Summary
This post will only cover the reversed image process (and in this case the cleanup process for Xen). I will create another blog post, on how you can create a new vDisk. I hope I was able to make the reversed image process a bit easier for you. If you have any questions please let me know!