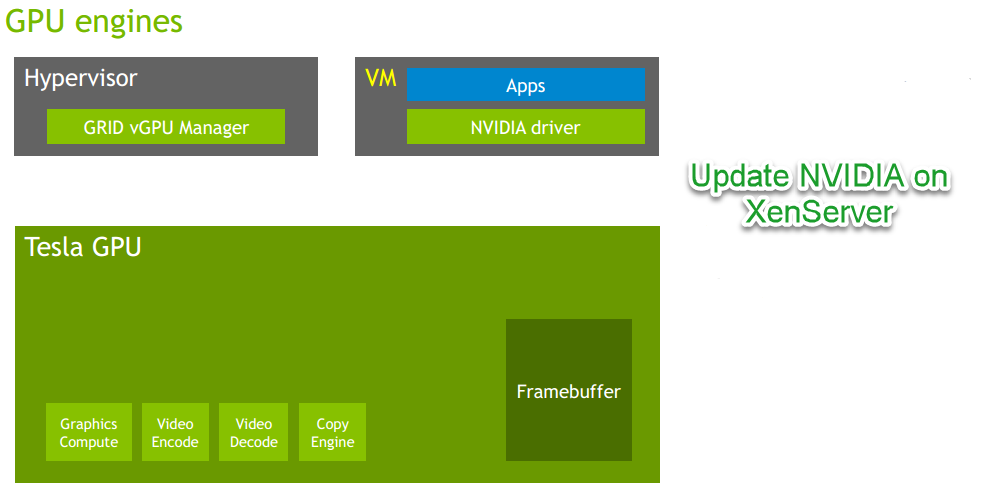
This is a short guide, for installing an update for NVIDIA on XenServer.
In this scenario, we need to upgrade NVIDIA from version 11.1 to 13.4. When installing this upgrade from XenCenter, we were not able to install the NVIDIA driver on the Citrix Golden Image (incompatible).
Note: The solution to this problem is to uninstall the old NVIDIA driver and then install the new driver using CLI.
Uninstall and installing NVIDIA Driver
First, we need to uninstall the NVIDIA driver from the Citrix hypervisor server.
- Check the driver version
- rpm -qa | grep -i nvidia

- Uninstall the present driver
- rpm -ev <nvidia package from above command>
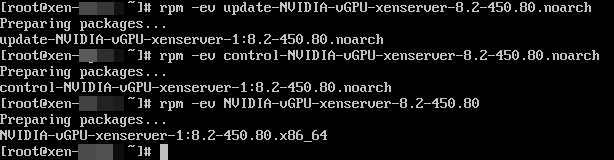
- Reboot the Citrix Hypervisor server
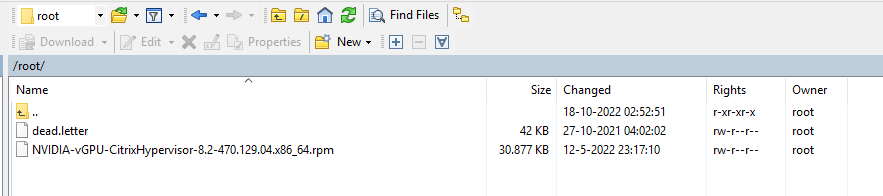
Now we need to upload the NVIDIA package to the Citrix hypervisor server. To download the latest NVIDIA drivers, log on to the Nvidia Enterprise Portal. You can use WinSCP to upload the package.
- Log on to WINSCP and connect to the Citrix hypervisor server
- Upload the package to /root/
- Install the latest driver using ssh with Putty
- rpm -iv <nvidia package name>
- Reboot the Citrix Hypervisor server
- Shutdown -r now
- After you restart the Citrix Hypervisor server, verify that the vGPU package has been installed and loaded correctly by checking the NVIDIA kernel driver
- lsmod |grep nvidia
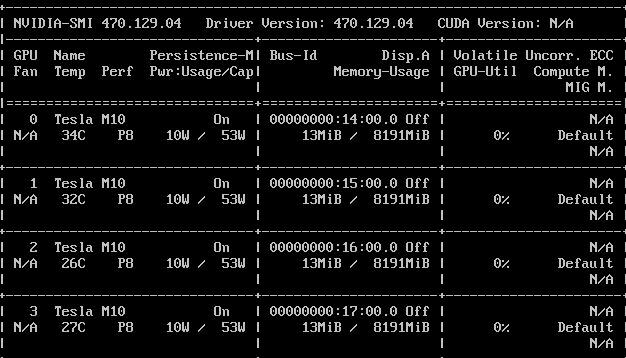
- Verify that the NVIDIA kernel driver can successfully communicate with the vGPU physical GPUs in your host. Run the nvidia-smi command to produce a listing of the GPUs in your platform similar to
- nvidia-smi
Installing the NVIDIA vGPU manager from XenCenter
XenCenter can be used to install or update Supplemental Packs on the Citrix Hypervisor hosts. The NVIDIA Virtual GPU Manger supplemental pack is provided as a .iso file.
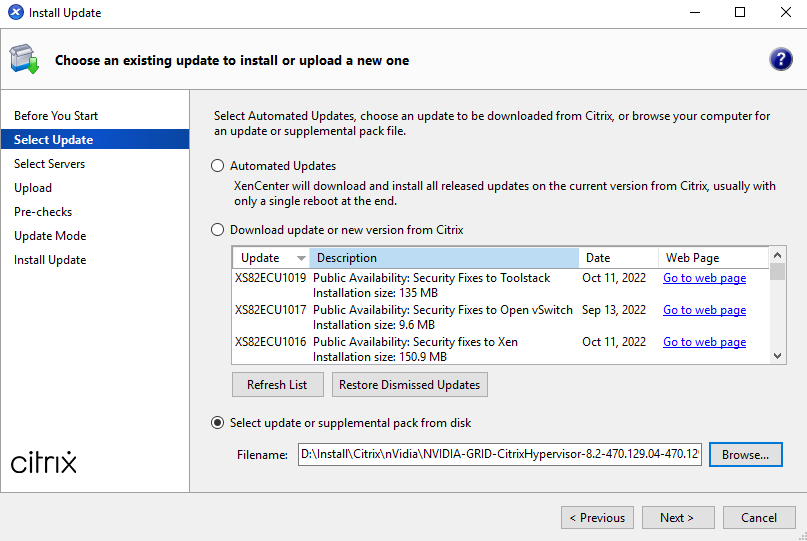
- Navigate to Tools and select Install Update

- At the Before You Start window, read through the instructions, and select Next to continue
- Select the bottom option for Select update or supplemental pack from disk. Proceed to the file path where the NVIDIA Citrix Hypervisor Supplemental Pack .iso is located. Select Next to continue
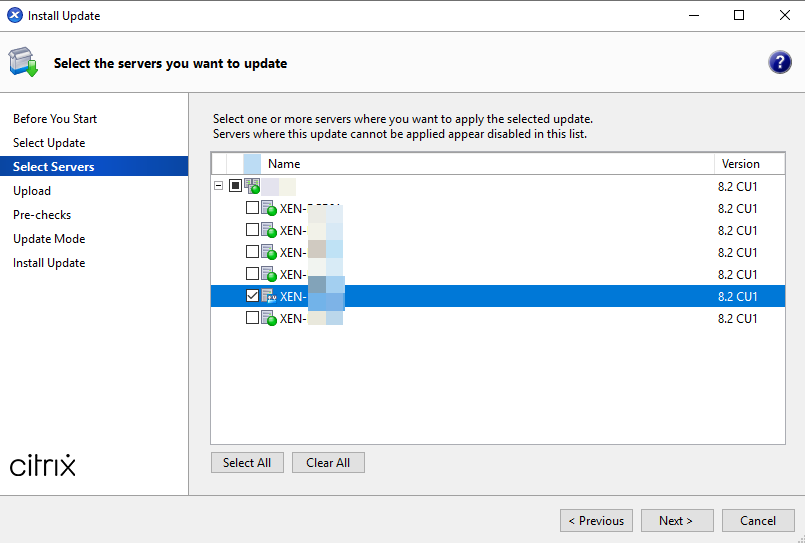
- Select the Citrix hypervisor server(s) you want to update
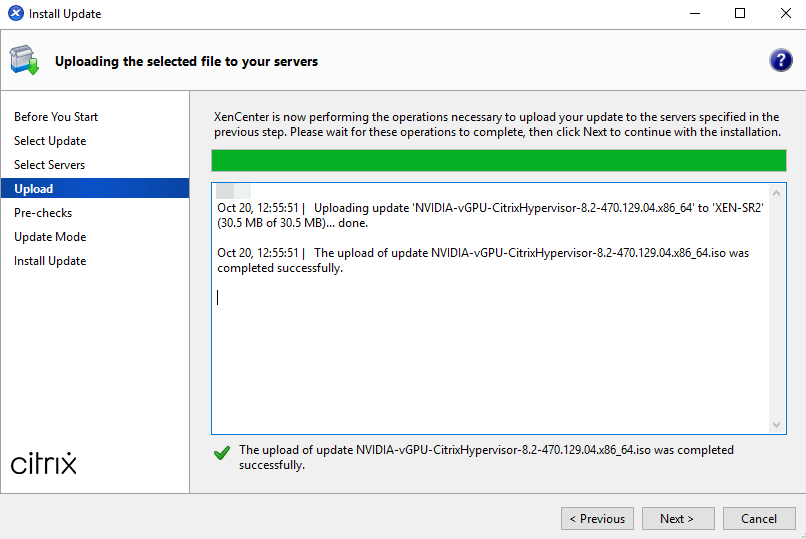
- The file will be uploaded from the local machine disk to the Citrix Hypervisor’s selected storage location. After successful completion, select Next to continue
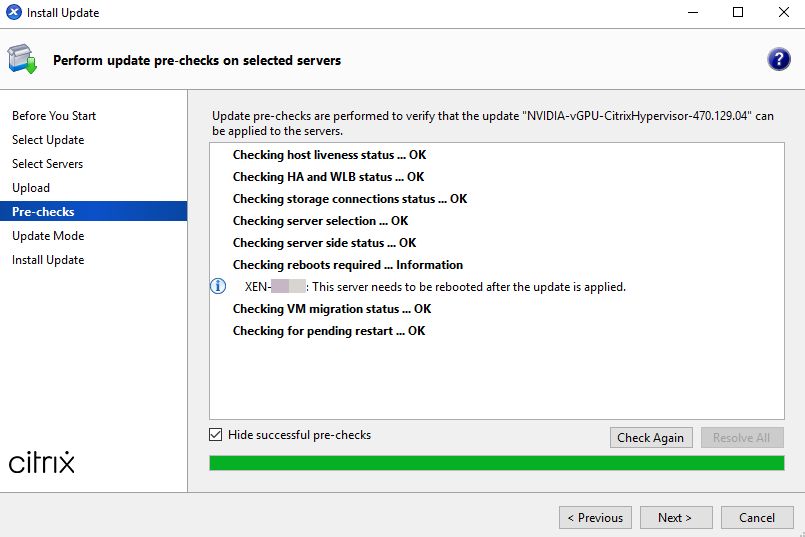
- Installation prechecks will begin. Once all prechecks are resolved, select Next to continue
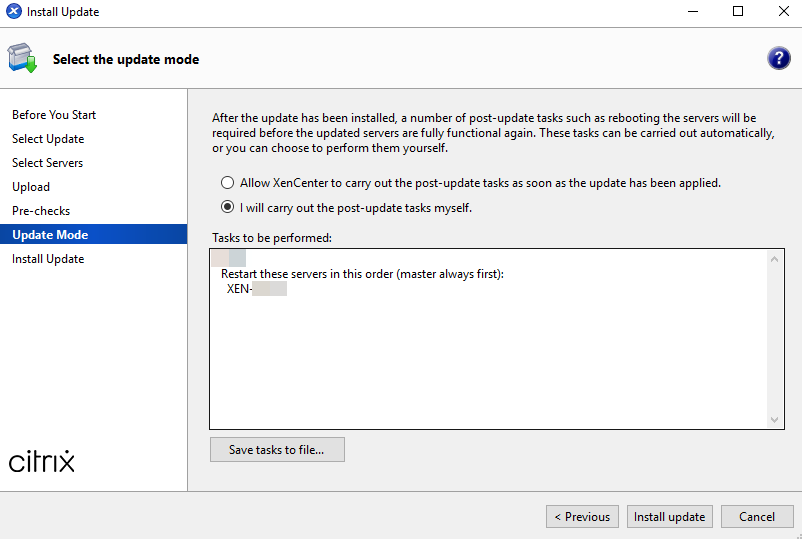
- In the Update Mode window, select I will carry out the post-update tasks myself (I want to to keep control). Then select Install Update
- Once the installation is complete, select Finish to continue
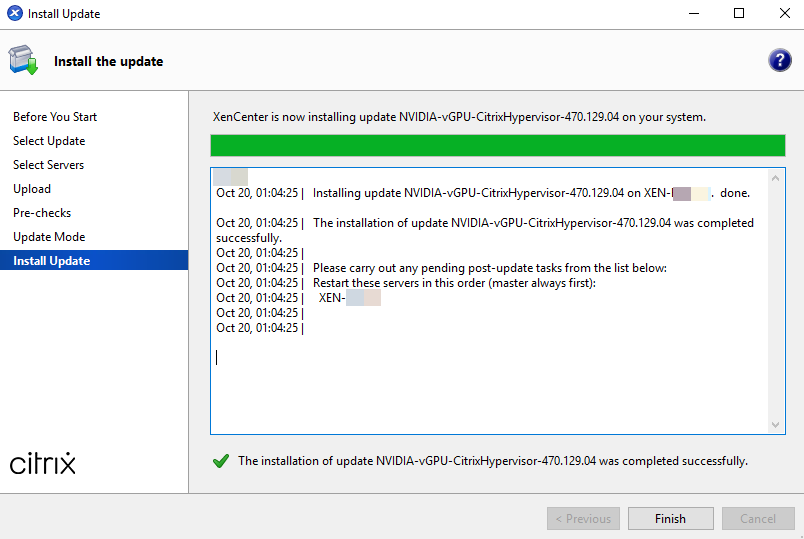
- Reboot the server to conclude installment of the NVIDIA vGPU Manager via .iso file
The only steps you still need to take now is to upgrade the Nvidia client in de Citrix Golden Image.
Summary
it’s always nice to have a few simple steps to get things done. Keep an eye out for more!